Log
The log is a powerful tool that keeps track of everything that happens in your Filecamp account. You can view, filter, and export activity reports to help keep track of your Filecamp usage.
View the most recent activity on your Filecamp
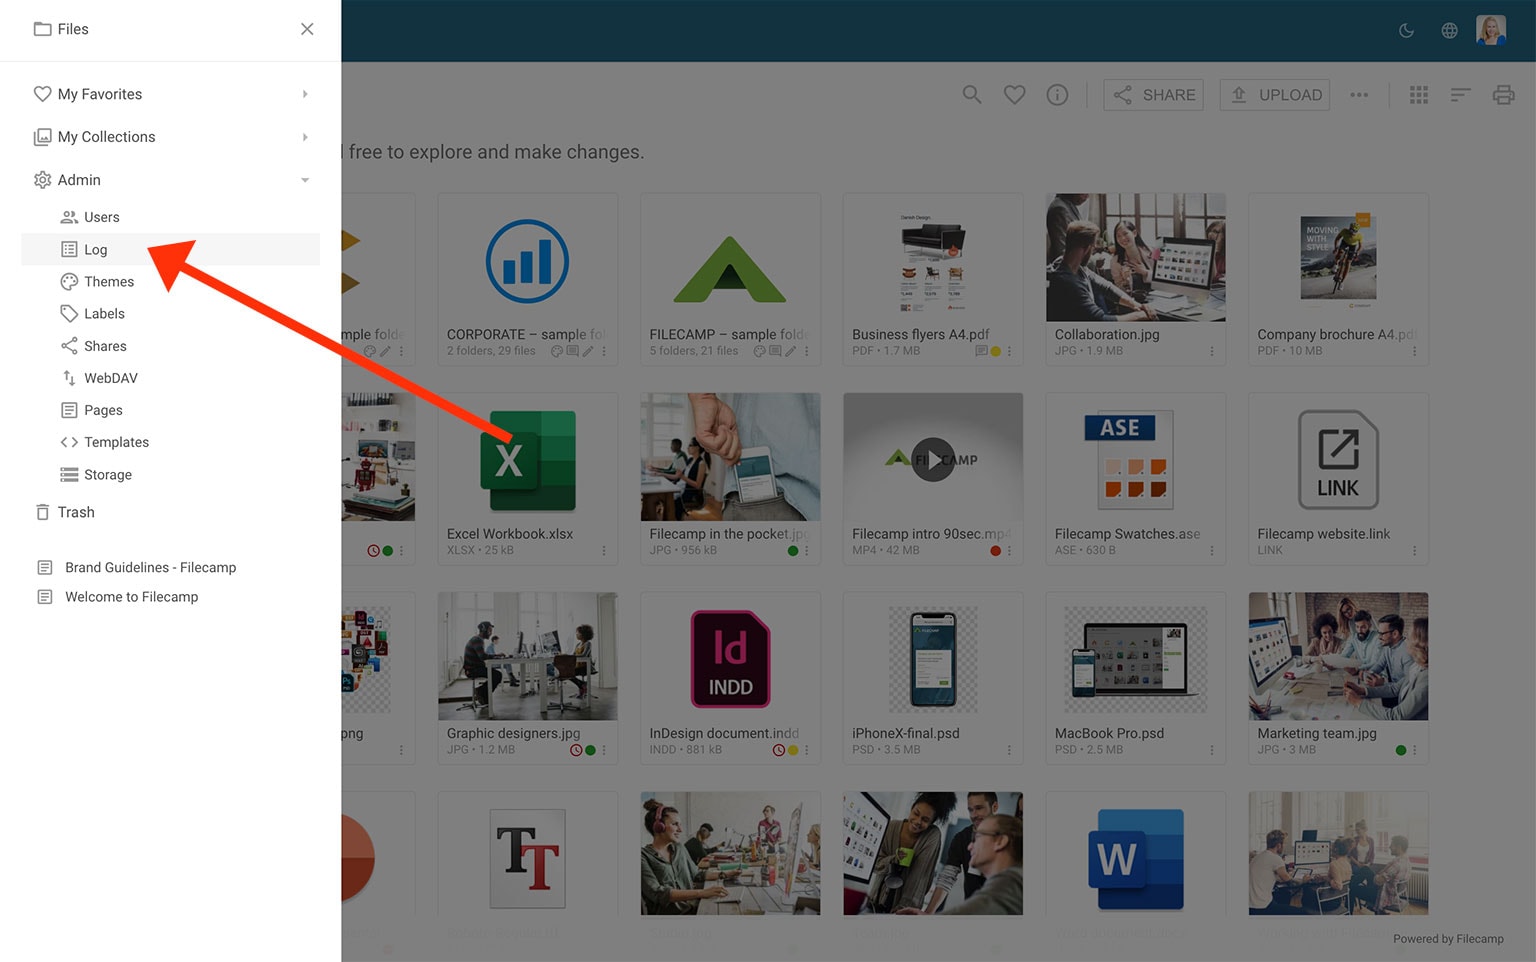
All Administrators and users with Log access have access to the Log file. To view the Log, access the Admin section from the main menu and choose ![]() Log.
Log.
When someone signs in or out of your Filecamp, uploads, downloads or deletes a file, or has been sent a notification via e-mail, the activity will be recorded as an entry in the Log file. Each entry in the Log includes a time and date stamp, username, and an approximate location![]() .
.
Refresh log entries
Click on the Refresh ![]() to refresh the log and see the newest entries.
to refresh the log and see the newest entries.
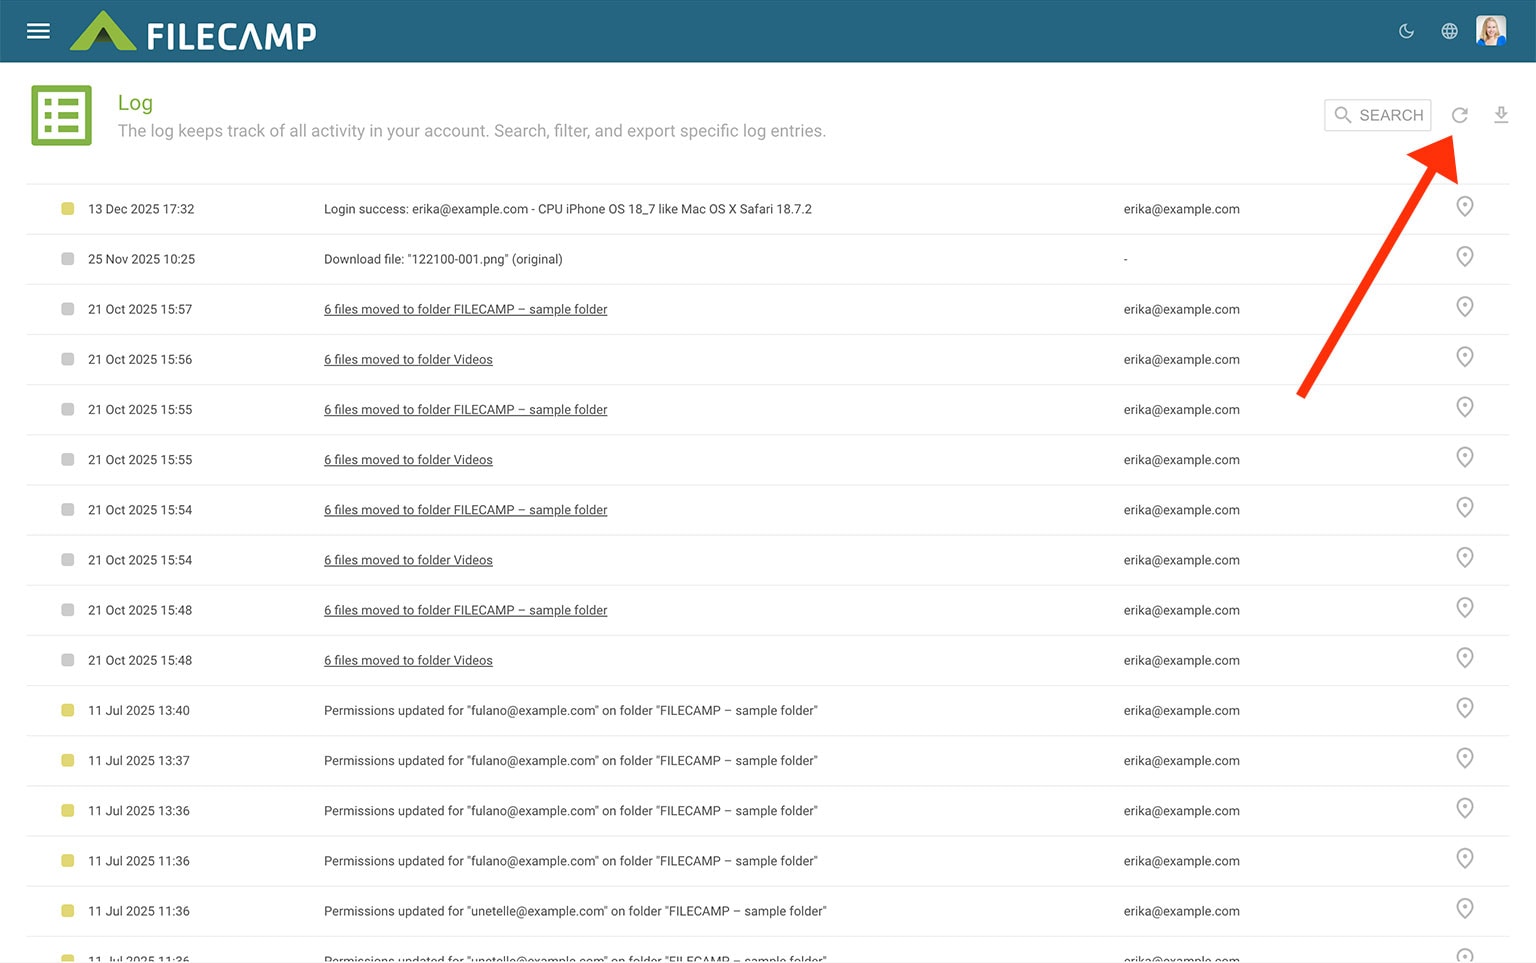
Search log entries
Click on the Search ![]() icon and search for specific Log types, User tasks, or define a time period you wish to review more closely. This is useful when you want a more detailed overview of the activity on your account or to view older log entries, you can easily search using the Search log entries function.
icon and search for specific Log types, User tasks, or define a time period you wish to review more closely. This is useful when you want a more detailed overview of the activity on your account or to view older log entries, you can easily search using the Search log entries function.

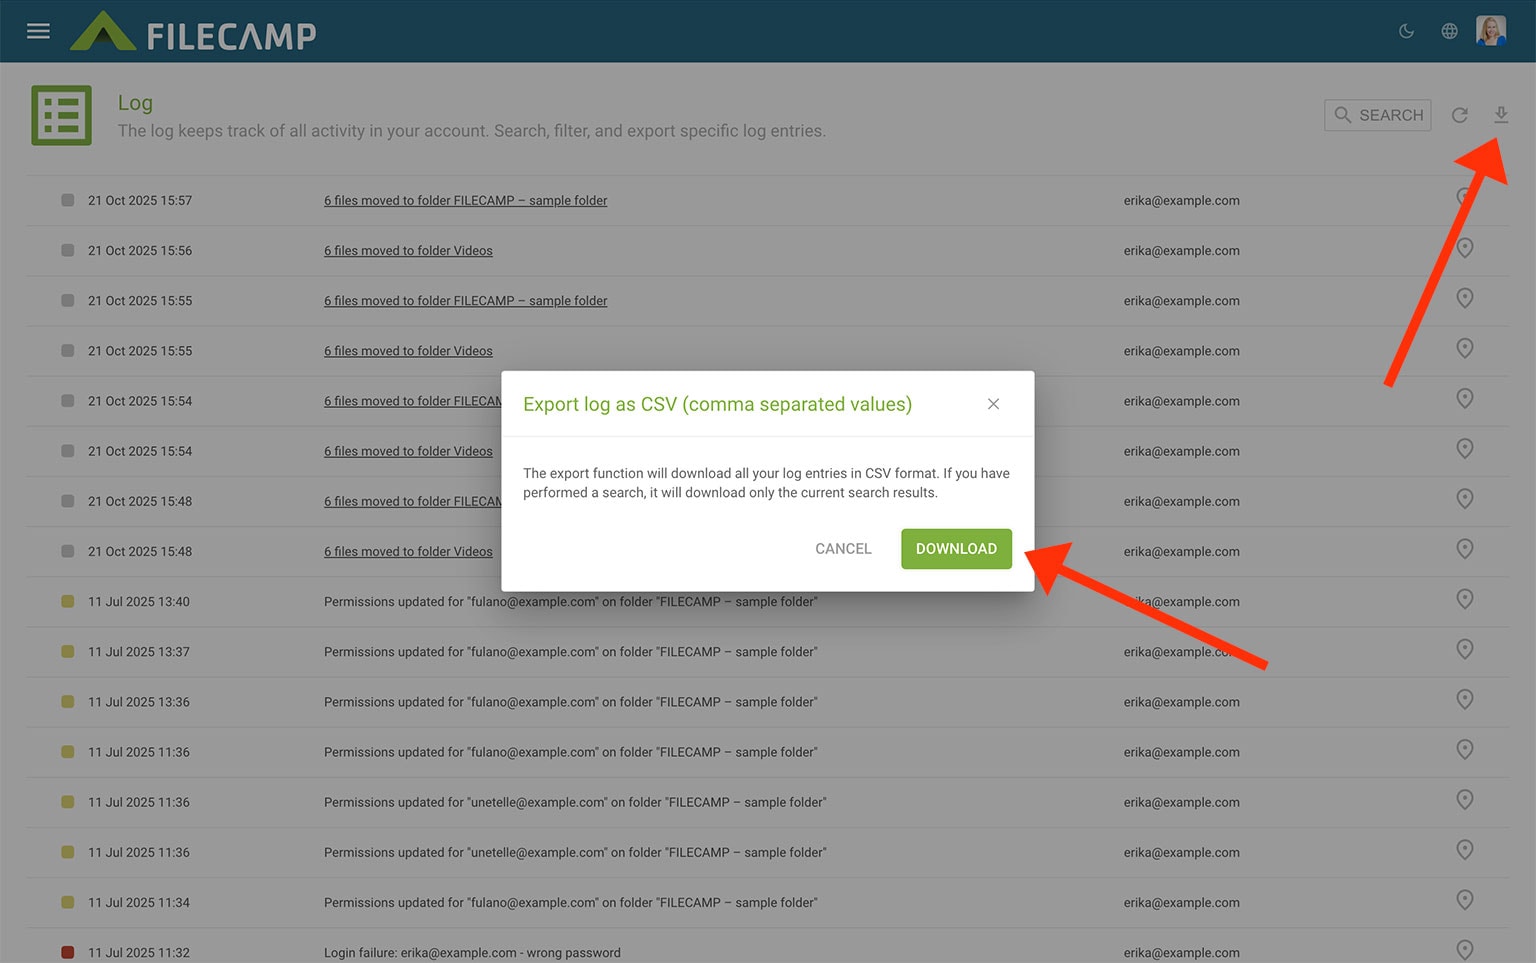
Download log entries
If you prefer to work with log entries offline in a spreadsheet application like Microsoft Excel, you can download your log as a .CSV file. Simply click on Download ![]() icon to download the current log search results as a .CSV file.
icon to download the current log search results as a .CSV file.
Comma-separated value (CSV) files are files that contain data from a table listed in plain text form, such as email contact details. Although CSV files can be opened with many programs, like text editors, the data they contain is best viewed using a spreadsheet program, such as Microsoft Excel or Google Sheets.

How to open your .csv log in Microsoft Excel
- Start Excel with a blank workbook open.
- Select Data on the ribbon, and then From Text. (If the menu options are greyed out this could be because you do not have a workbook open)
- Browse for the *.csv log file you want to open, and click Import.
- In the Text import wizard, ensure the Delimited option is selected. Click Next.
- In the delimiters section, tick Tab. The text qualifier box should show the double-quote symbol. Click Next.
- Mark every column as Text. The first column only will initially be highlighted. Move the horizontal cursor as far as it will go to the right; then, holding the shift key down, click the very last column heading. You should now have every column highlighted. Click the Text data format. It will now say Text in the header of every column. Click Finish.
- It may ask you "Where do you want to put the data?". It will allow you to click into any cell on the blank worksheet to determine where the data should go. Click OK to proceed.
- Your Filecamp log data should now appear in the spreadsheet in a more user friendly format than the raw CSV. file.

How to open your .csv log in Google Sheets
-
- Go to Google Sheets in your web browser and sign in with your Google account.
- Open or create a sheet.
- At the top, click File > Import.
- Choose Upload and select/drag your .CSV file from your local Mac/PC.
- Select your import options (we recommend these settings):
- Click Import data.
- Your Filecamp log data should now appear in the Google Sheet in a more user friendly format than the raw CSV. file.